Understanding Trailer Lighting Basics
Trailer lights are critical for safety on the road. They ensure that other drivers can see your trailer and understand your intentions while driving. Knowing how to properly wire and maintain these lights is essential for any trailer owner.
Wiring Your Trailer Lights
Wiring trailer lights may seem daunting, but with the right tools and instructions, it can be a straightforward task. Here’s a step-by-step guide:
Tools and Materials Needed
- Wire strippers
- Electrical tape
- Soldering iron (optional)
- Heat shrink tubing (optional)
- Wire connectors
- Light fixtures
- 12-volt wiring harness
Steps to Wire Your Trailer Lights
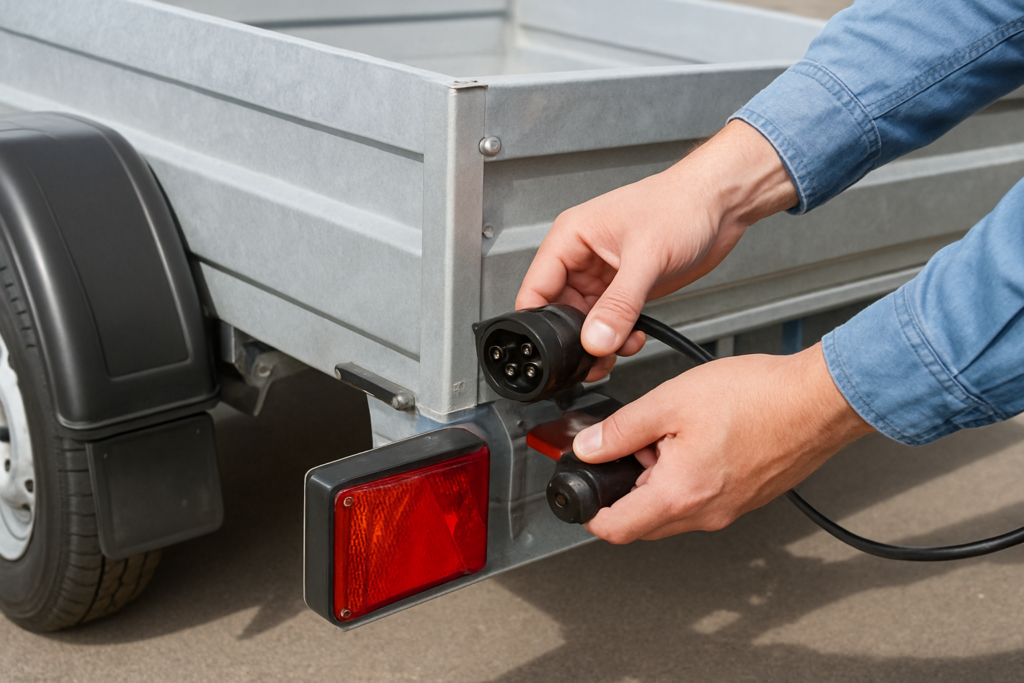
- Identify the Wiring System: Most trailers use a 4-pin or 7-pin wiring system. Knowing which one you have will determine the wiring color codes.
- Prepare the Wires: Strip the ends of the wires to expose enough copper for connections. If necessary, use a wire stripper.
- Connect the Wires: Follow the color codes to connect the wires. Common color codes include:
- Brown: Tail lights
- Yellow: Left turn signal
- Green: Right turn signal
- White: Ground
- Secure Connections: Use wire connectors to secure the connections. For added durability, you may use solder and heat shrink tubing.
- Test the Lights: Before finalizing everything, connect your trailer to a tow vehicle and test all lights to ensure they are functioning correctly.
Maintaining Trailer Lights
Regular maintenance of your trailer lights will prolong their life and ensure safety. Here are some maintenance tips:
Routine Checks
- Inspect the wiring for any signs of wear or damage.
- Check that all bulbs are functioning and replace any burnt-out bulbs immediately.
- Ensure the connections are secure and free from corrosion.
Cleaning the Lights
Keeping your trailer lights clean is essential for optimal performance:
- Use a soft cloth and mild soap to clean the lenses.
- Avoid harsh chemicals that could damage the plastic.
Protecting Your Wiring
Protect your wiring from the elements:
- Use conduit or flexible tubing to shield wires from moisture and debris.
- Regularly check for any signs of rodent damage, especially if the trailer is stored for long periods.
Common Trailer Light Issues and Solutions
If you encounter problems with your trailer lights, consider these common issues:
Flickering Lights
This can be caused by a loose connection or a bad ground. Check all connections and ensure the ground is properly secured.
One Side Not Working
If one side of the trailer lights is not functioning, inspect the wiring for breaks and check the bulbs.
Dim Lights
Dim lights may indicate a weak ground or low voltage from the vehicle. Check the connections and ensure the vehicle’s electrical system is functioning properly.
Conclusion
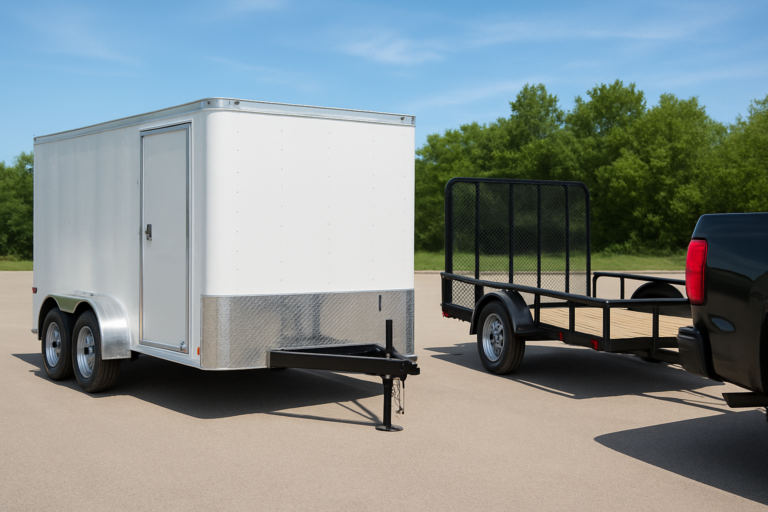
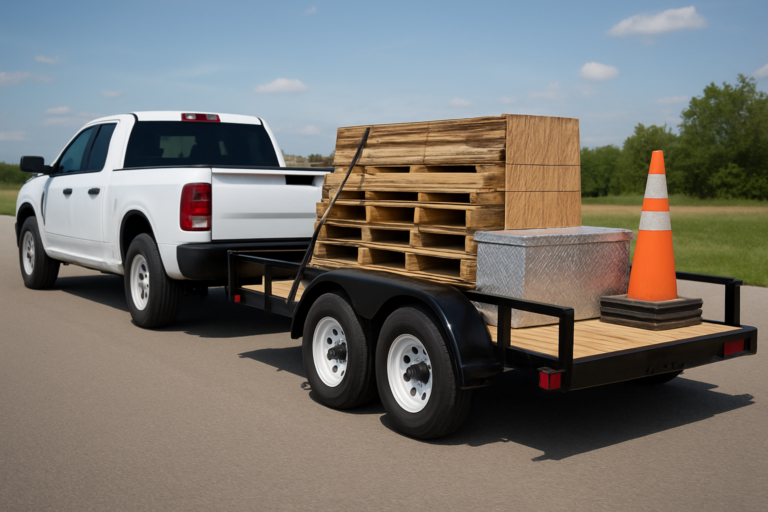
Wiring and maintaining your trailer lights ensures safety and compliance with road regulations. If you’re looking to enhance your trailer setup, consider building a custom trailer or browsing our in-stock inventory.
Frequently asked questions
How often should I check my trailer lights?
It's advisable to check your trailer lights before every trip and perform routine maintenance every few months.
What should I do if my trailer lights stop working?
First, check the bulbs and wiring for any visible damage. If all looks good, test the connections and consider consulting a professional.
Can I replace trailer light bulbs myself?
Yes, replacing trailer light bulbs is typically easy and can be done without professional help. Just ensure you have the correct replacement bulbs.
Ready to move forward? Build your exact trailer with live pricing, or shop in-stock units ready to tow today.